¶ Infuse
Before you begin, it's essential to familiarize yourself with Infuse and its functionalities.
Infuse is a sophisticated video player designed for iPhone, iPad, Apple TV, and Mac.
When set up correctly, Infuse offers a superior experience compared to Plex, Emby, and Jellyfin, boasting faster performance and enhanced features.
The app seamlessly integrates with Plex, Emby and Jellyfin, providing two modes of operation: direct mode and library mode.
Our library is specifically tailored for use with direct mode. In this mode, Infuse dynamically accesses data from the server, offering a real-time experience. This is in contrast to library mode, which is suited for smaller libraries as it stores a cache buffer locally which does not work with our library.
Infuse excels in its ability to direct play nearly any format, eliminating common playback issues found in other applications like Plex. This ensures a smooth viewing experience across all your devices.
The Infuse app is available for a nominal fee of $1 per month paid to the Infuse developers via App Store and can be used across multiple devices, including iPhone, iPad, Apple TV, or Mac, provided they are linked to the same iCloud account.
Ensure you have the most recent version of Infuse, which is version 7.7 as of 13 February 2024, before proceeding.
This guide primarily focuses on the Apple TV version of Infuse, but the principles and setup process are similar across all devices supporting the app.
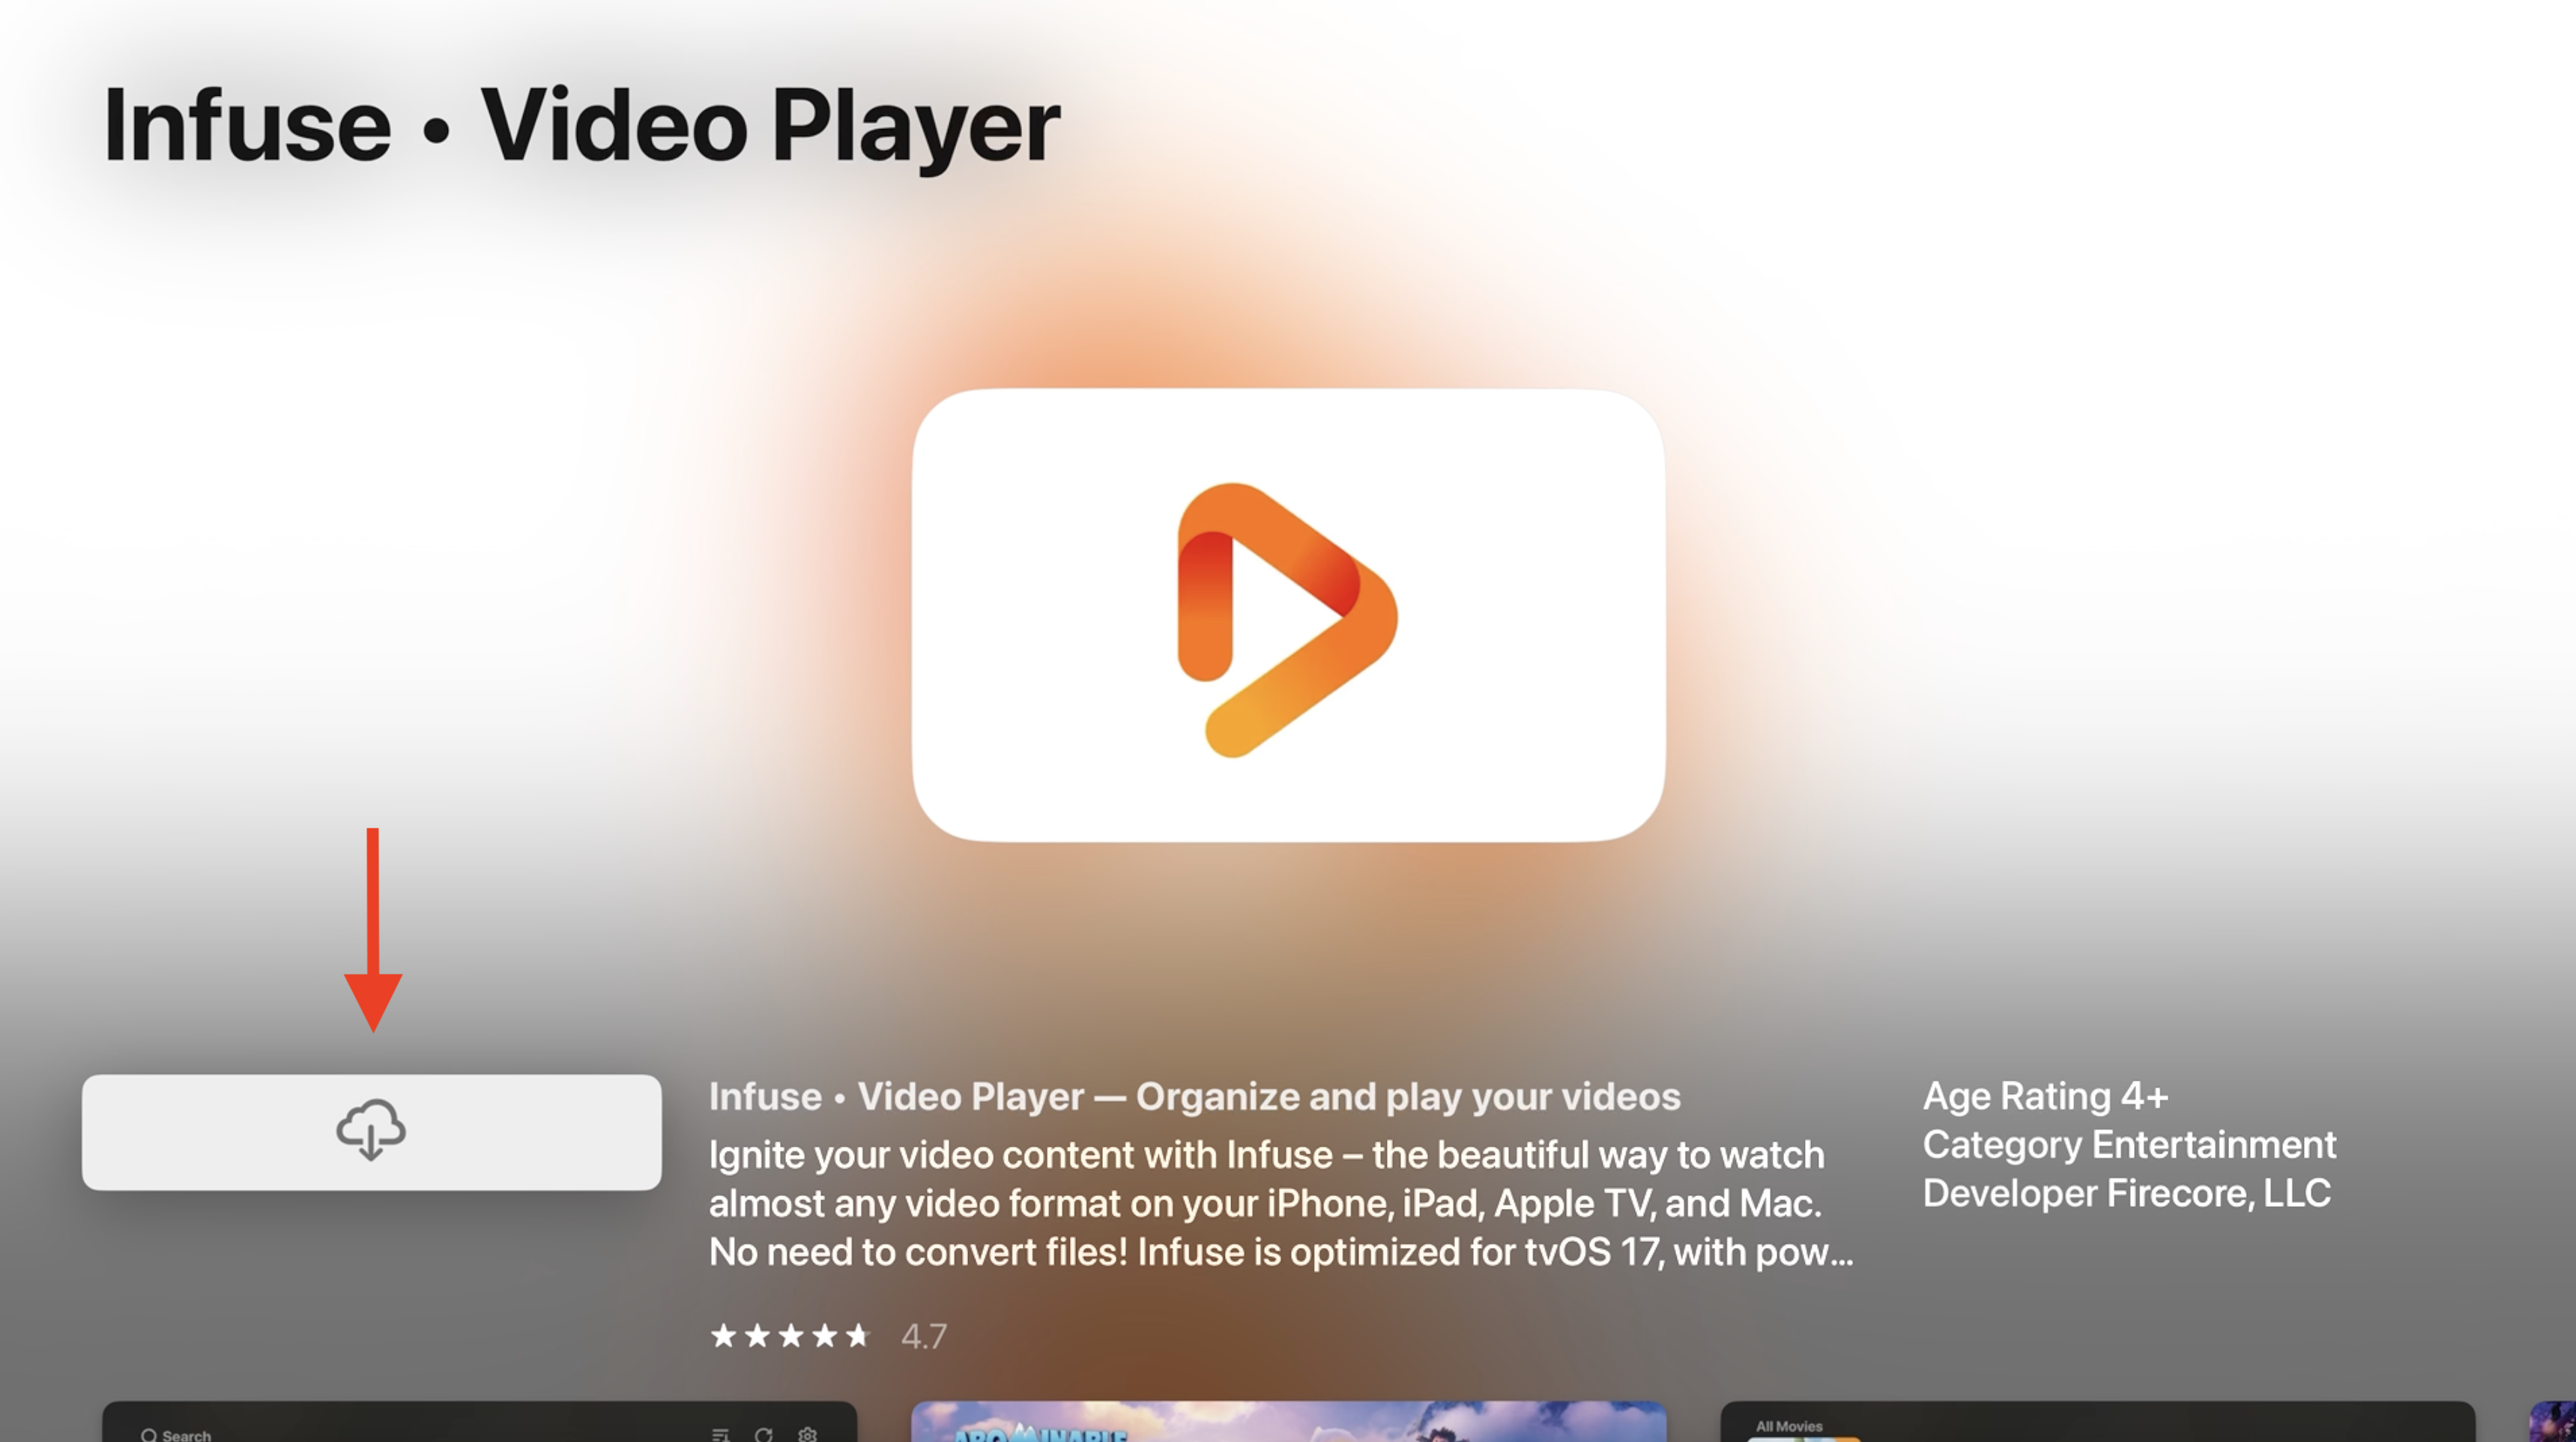
1. Begin by downloading the Infuse app from the App Store.
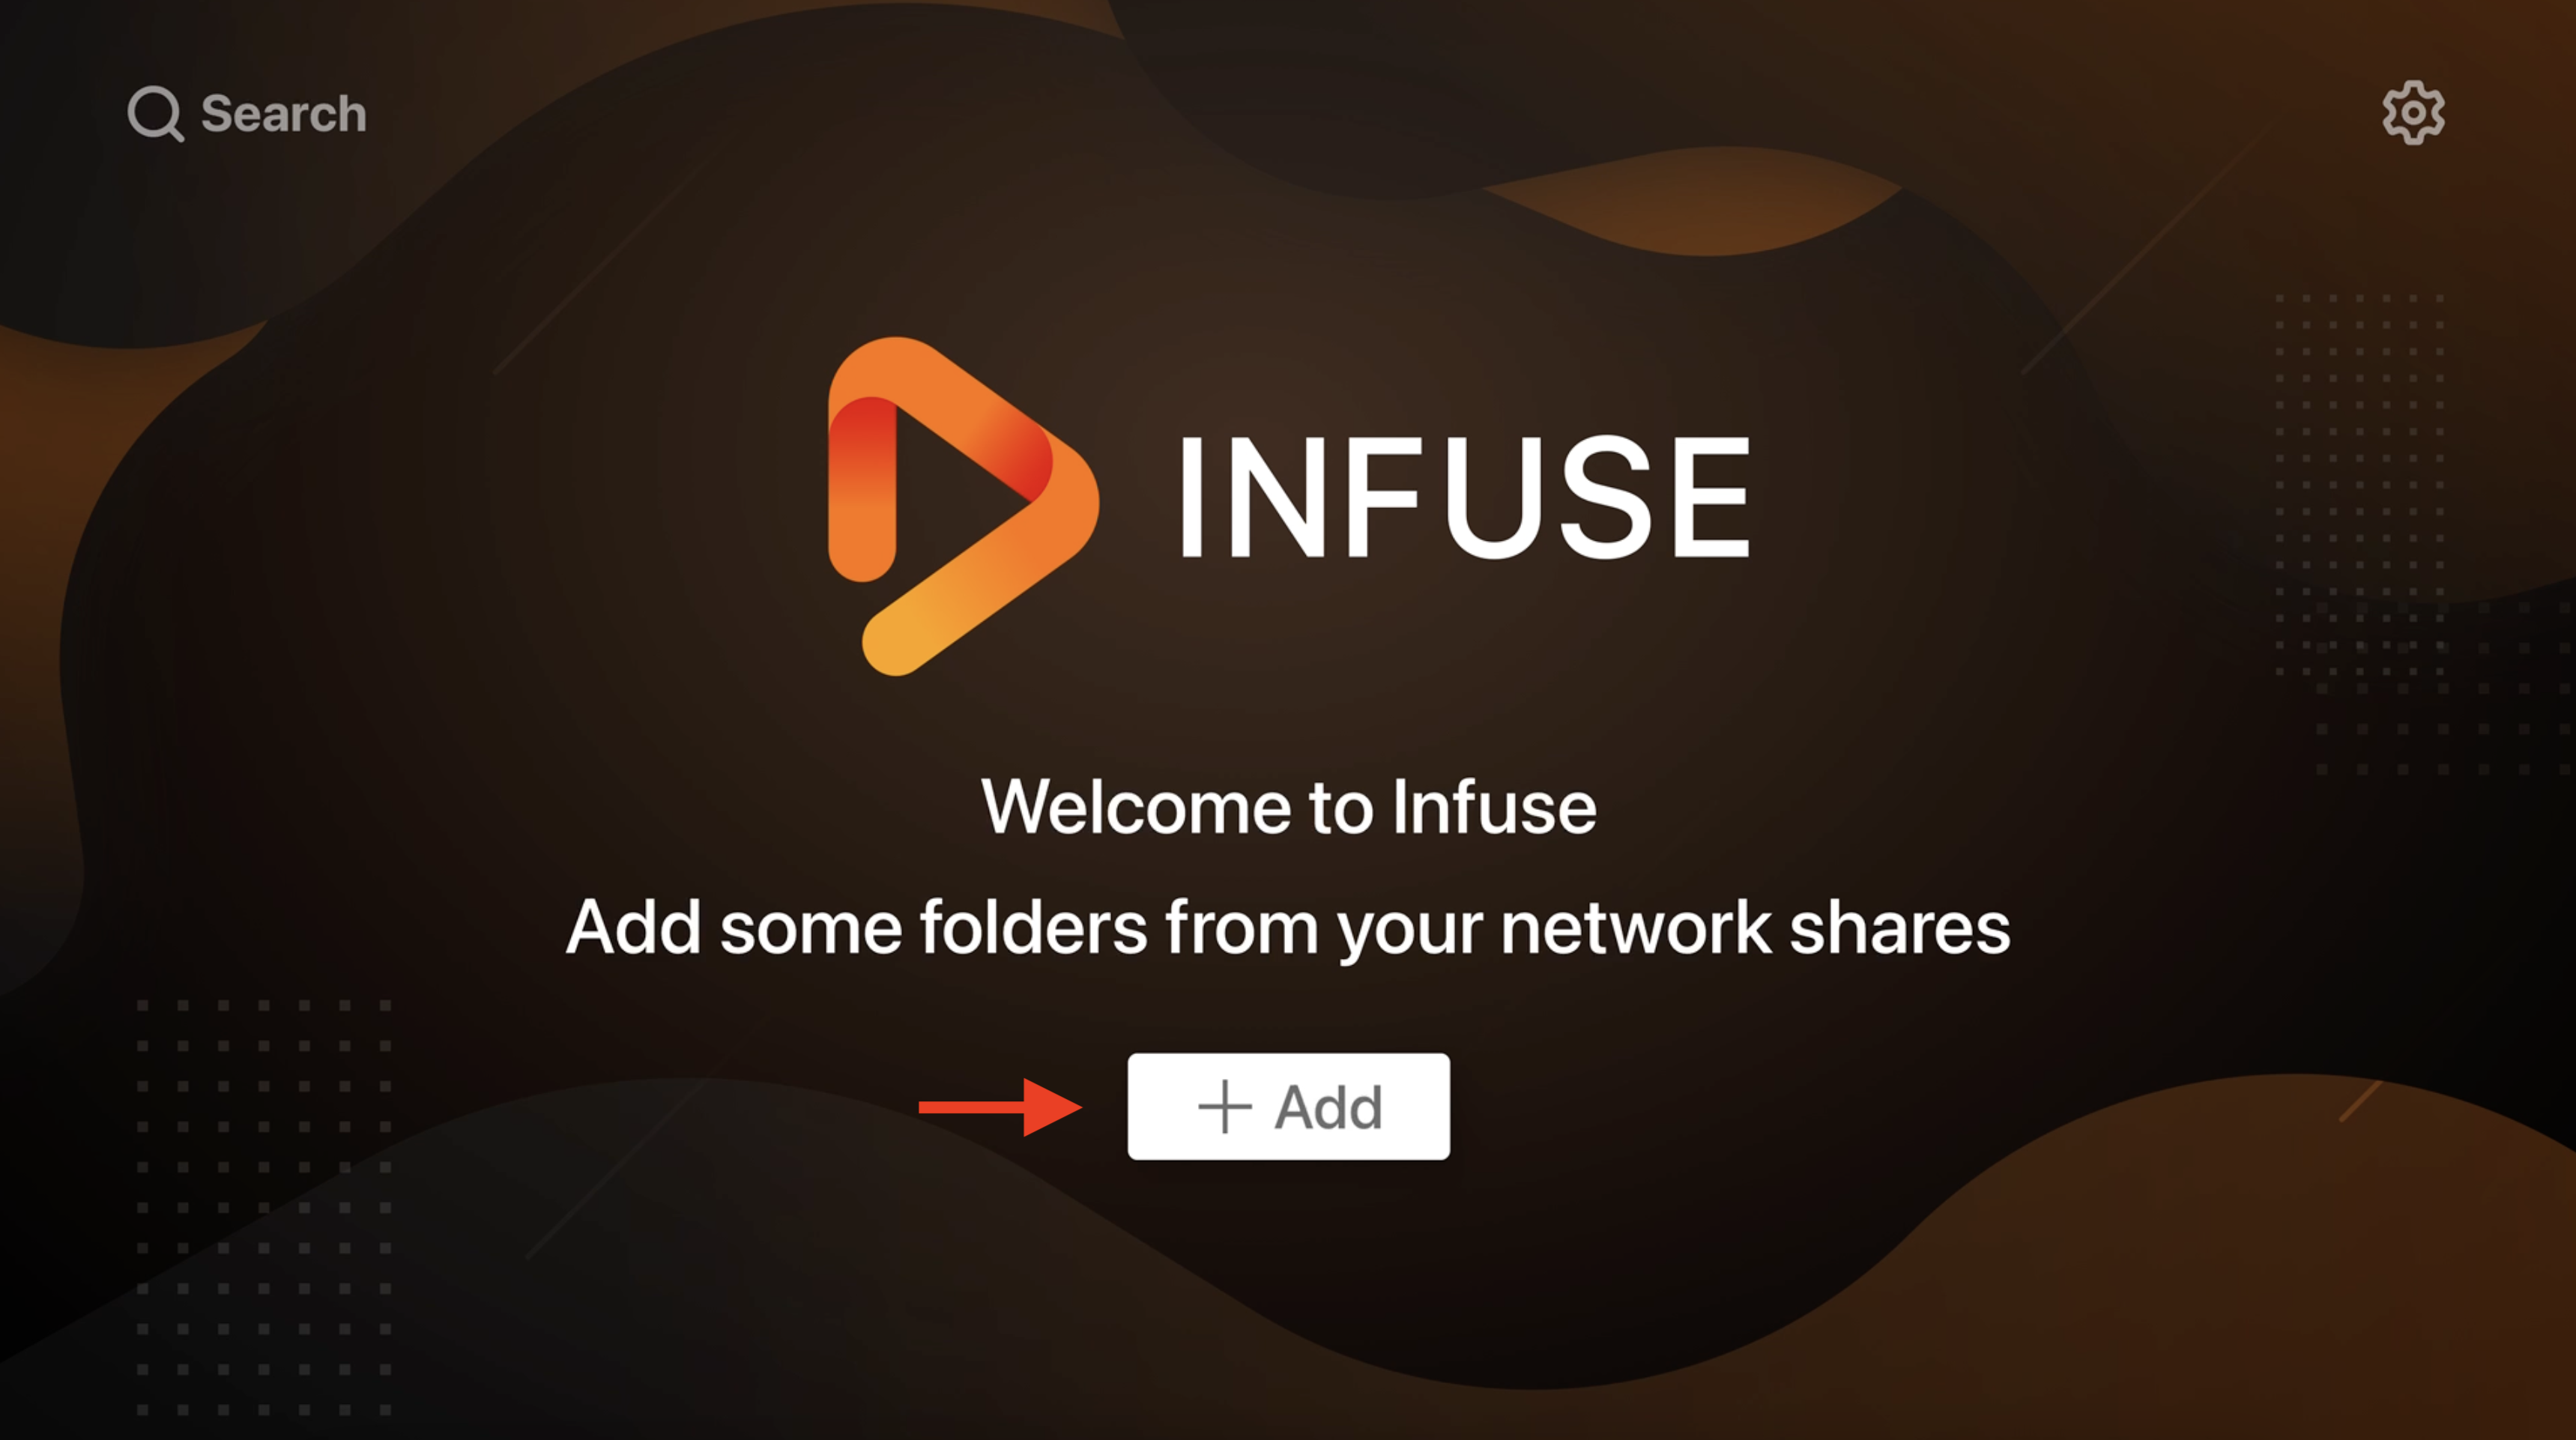
2. Upon your first use of Infuse, you will be greeted with an "Add" button. Please click on it to proceed.
3. Select "Add Media Servers" to continue.

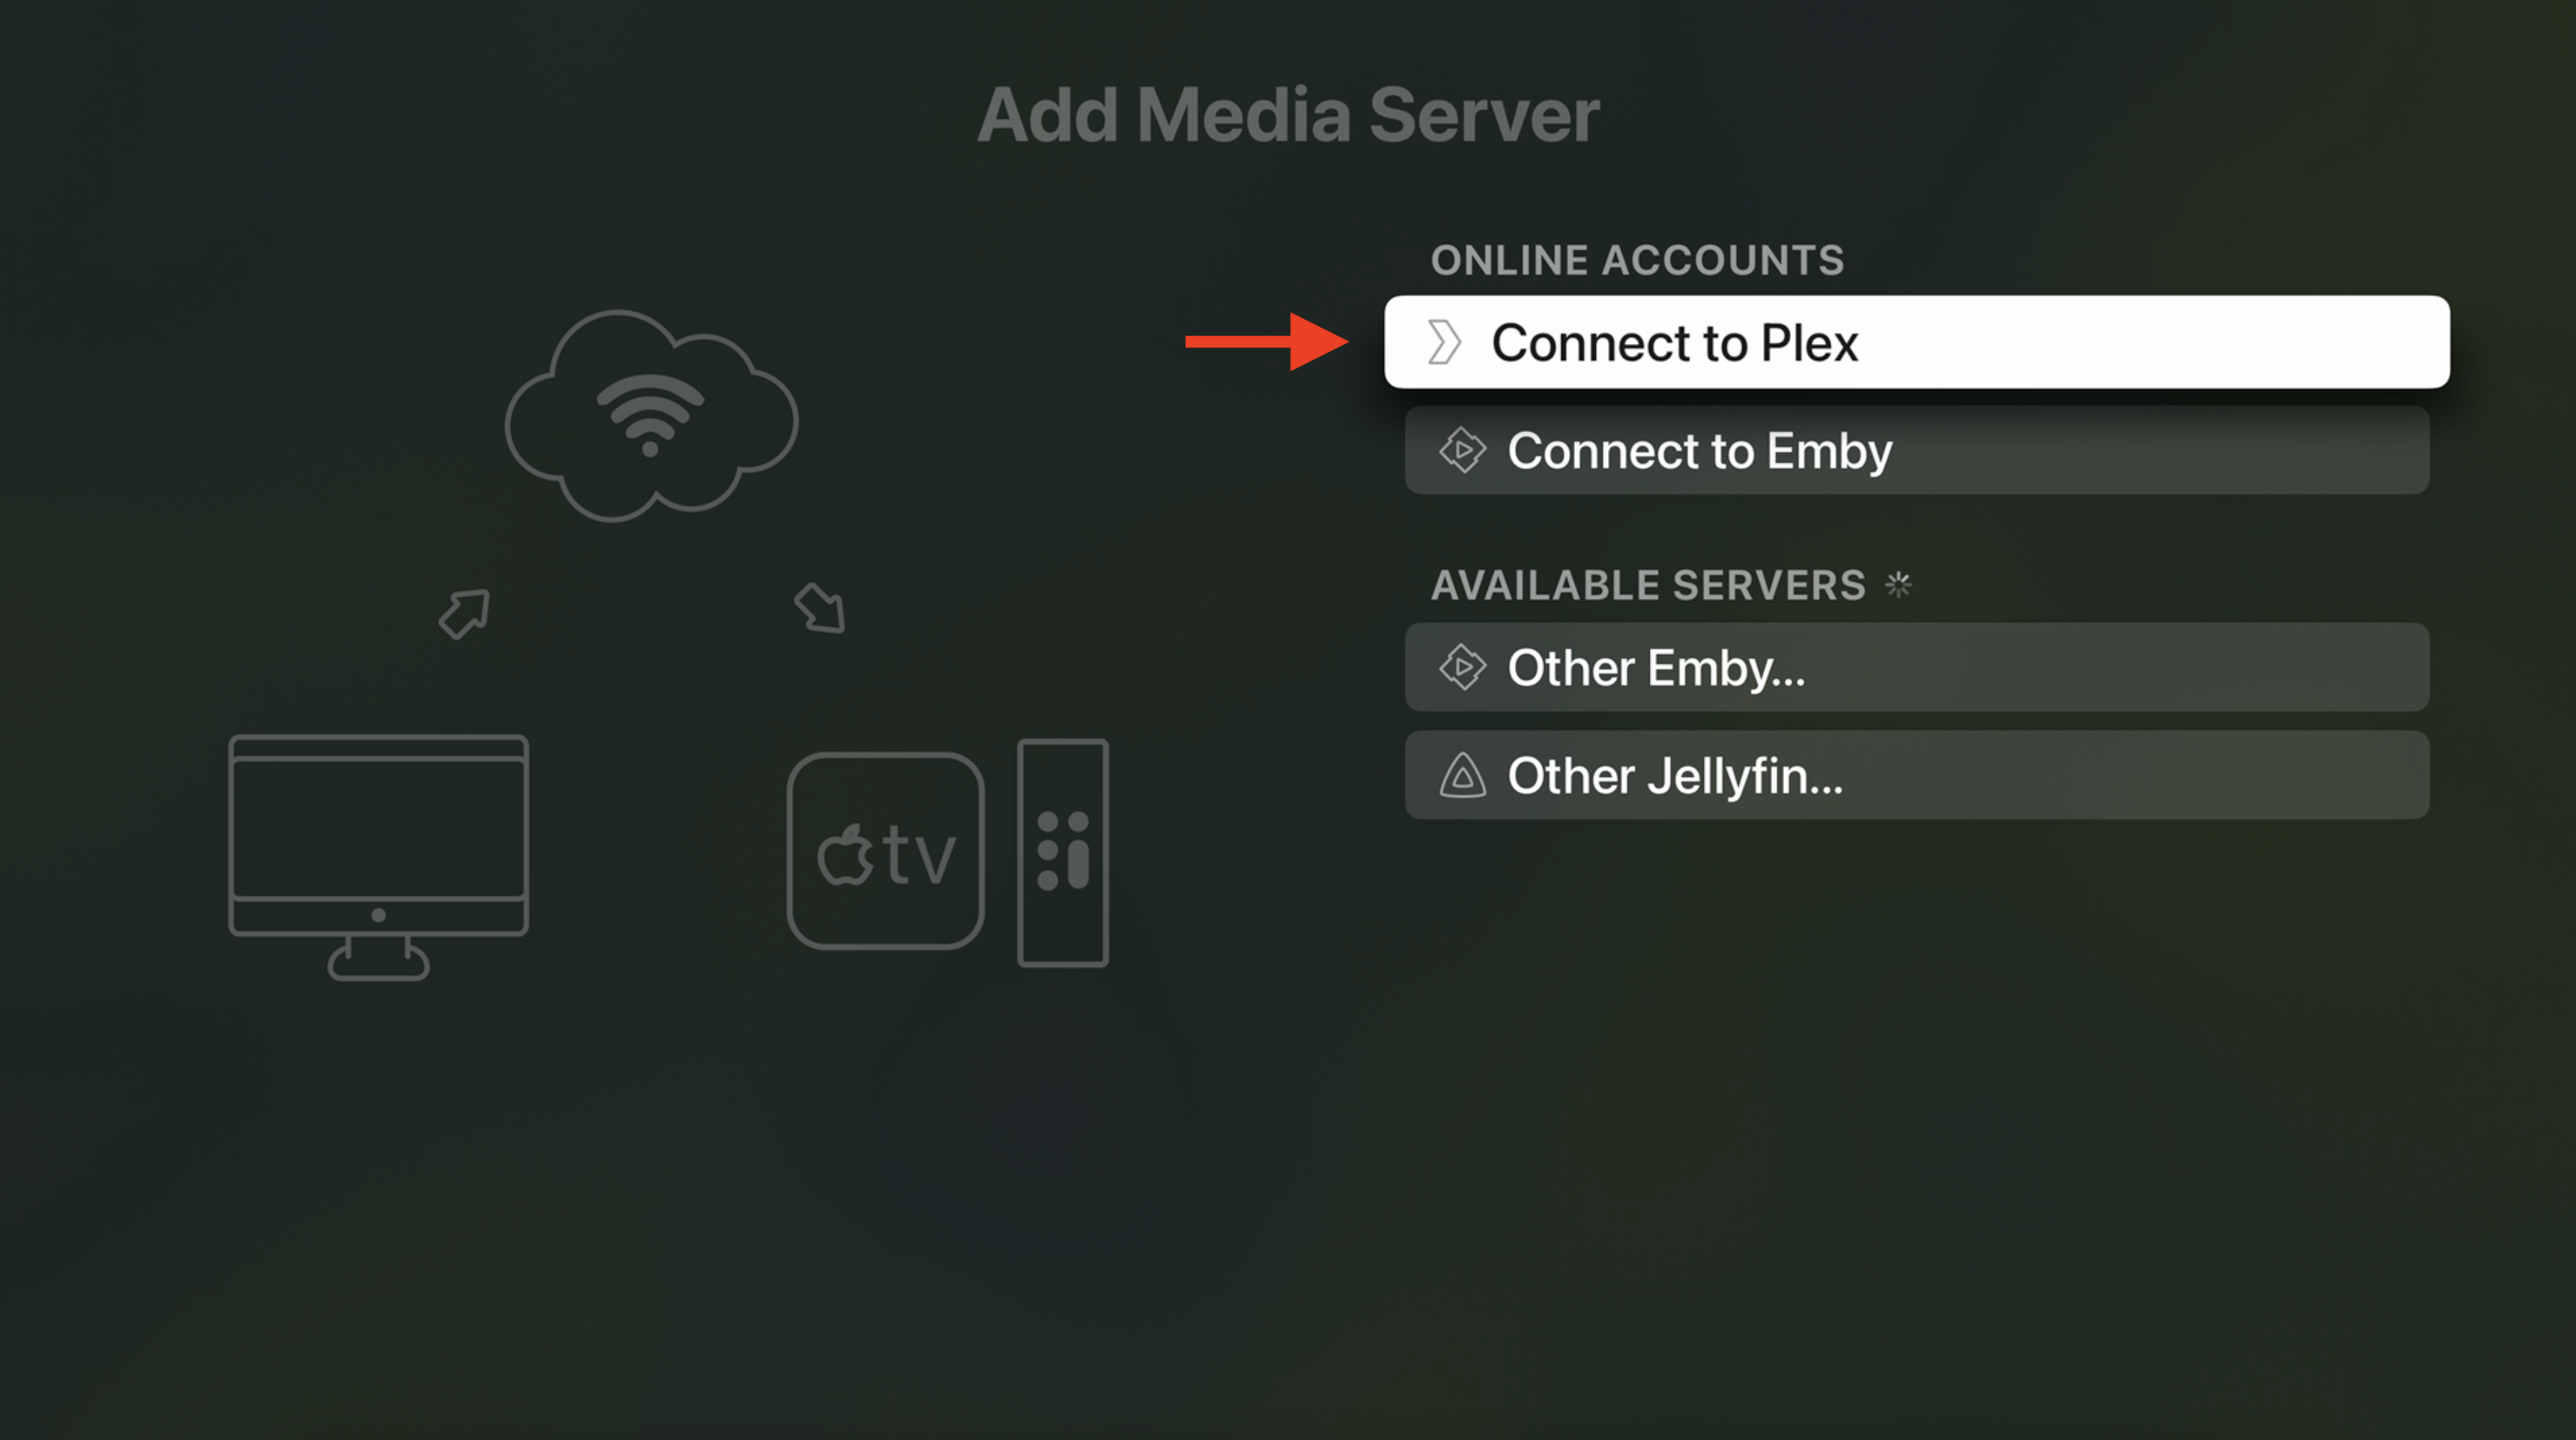
4. Choose "Connect to Plex" to link your Plex account.
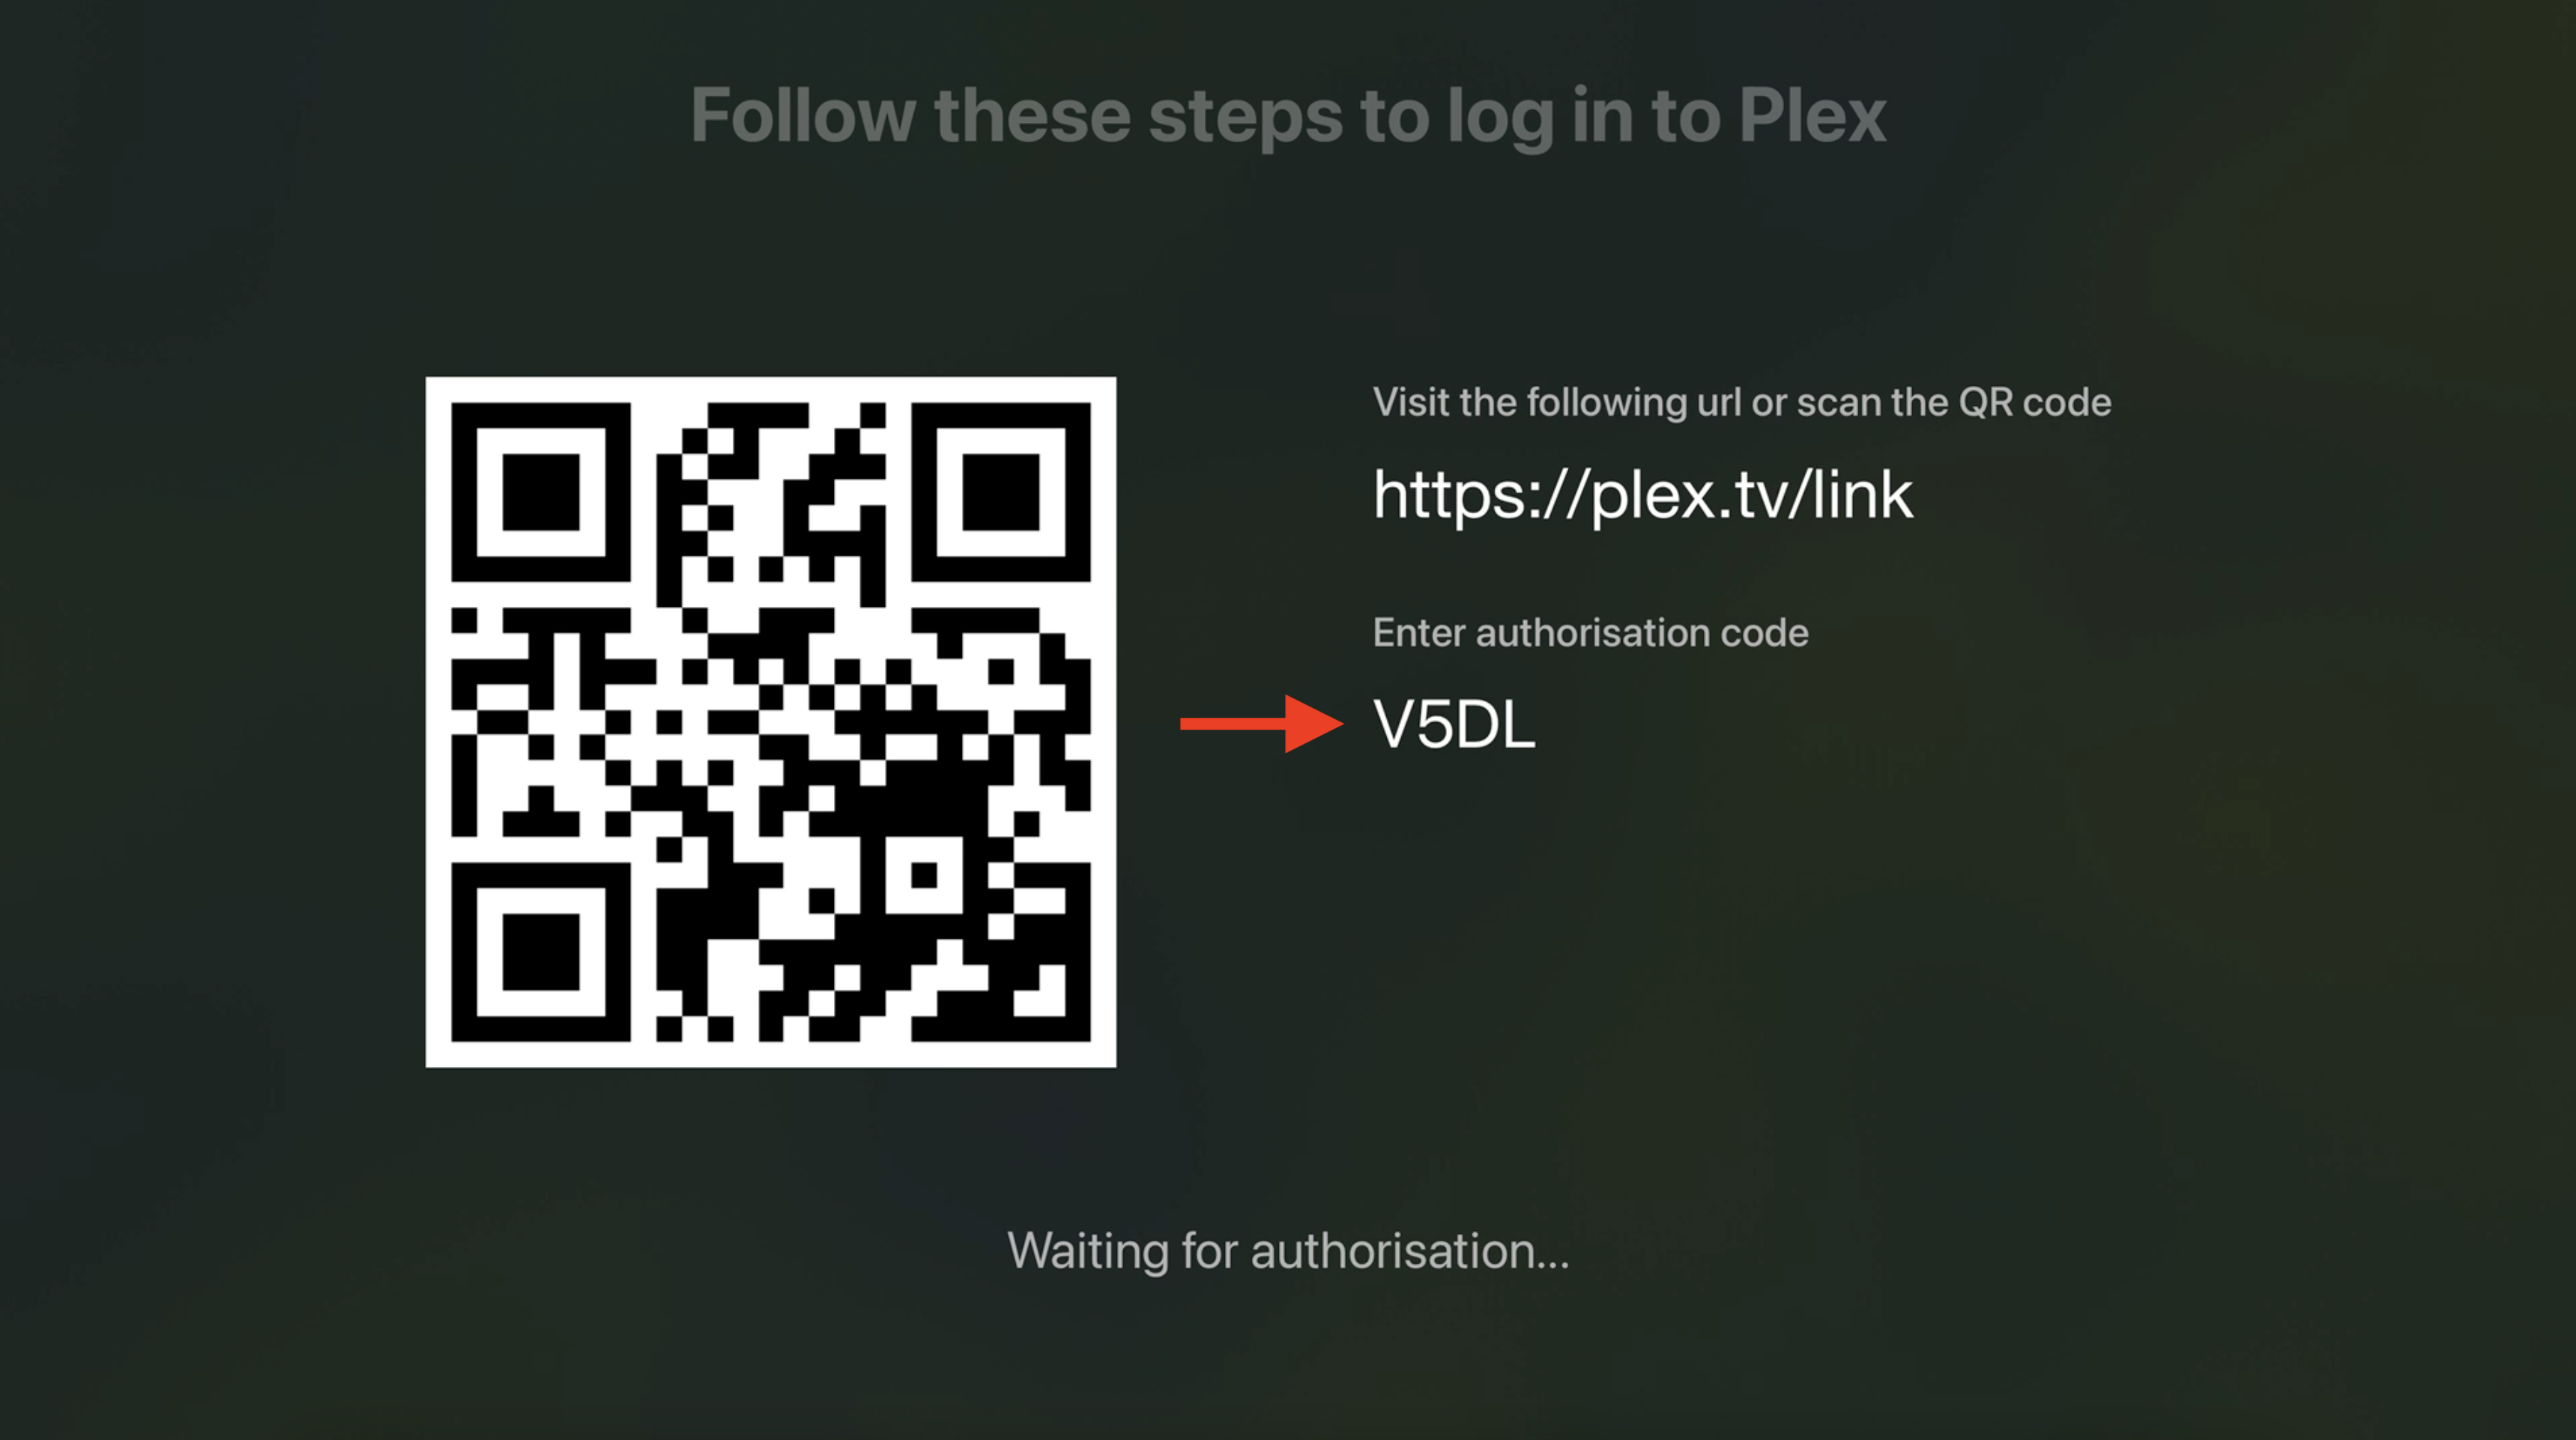
5. You will then see an authorization code displayed, similar to the example shown in the photo. Visit plex.tv/link and enter the authorization code shown on your screen.
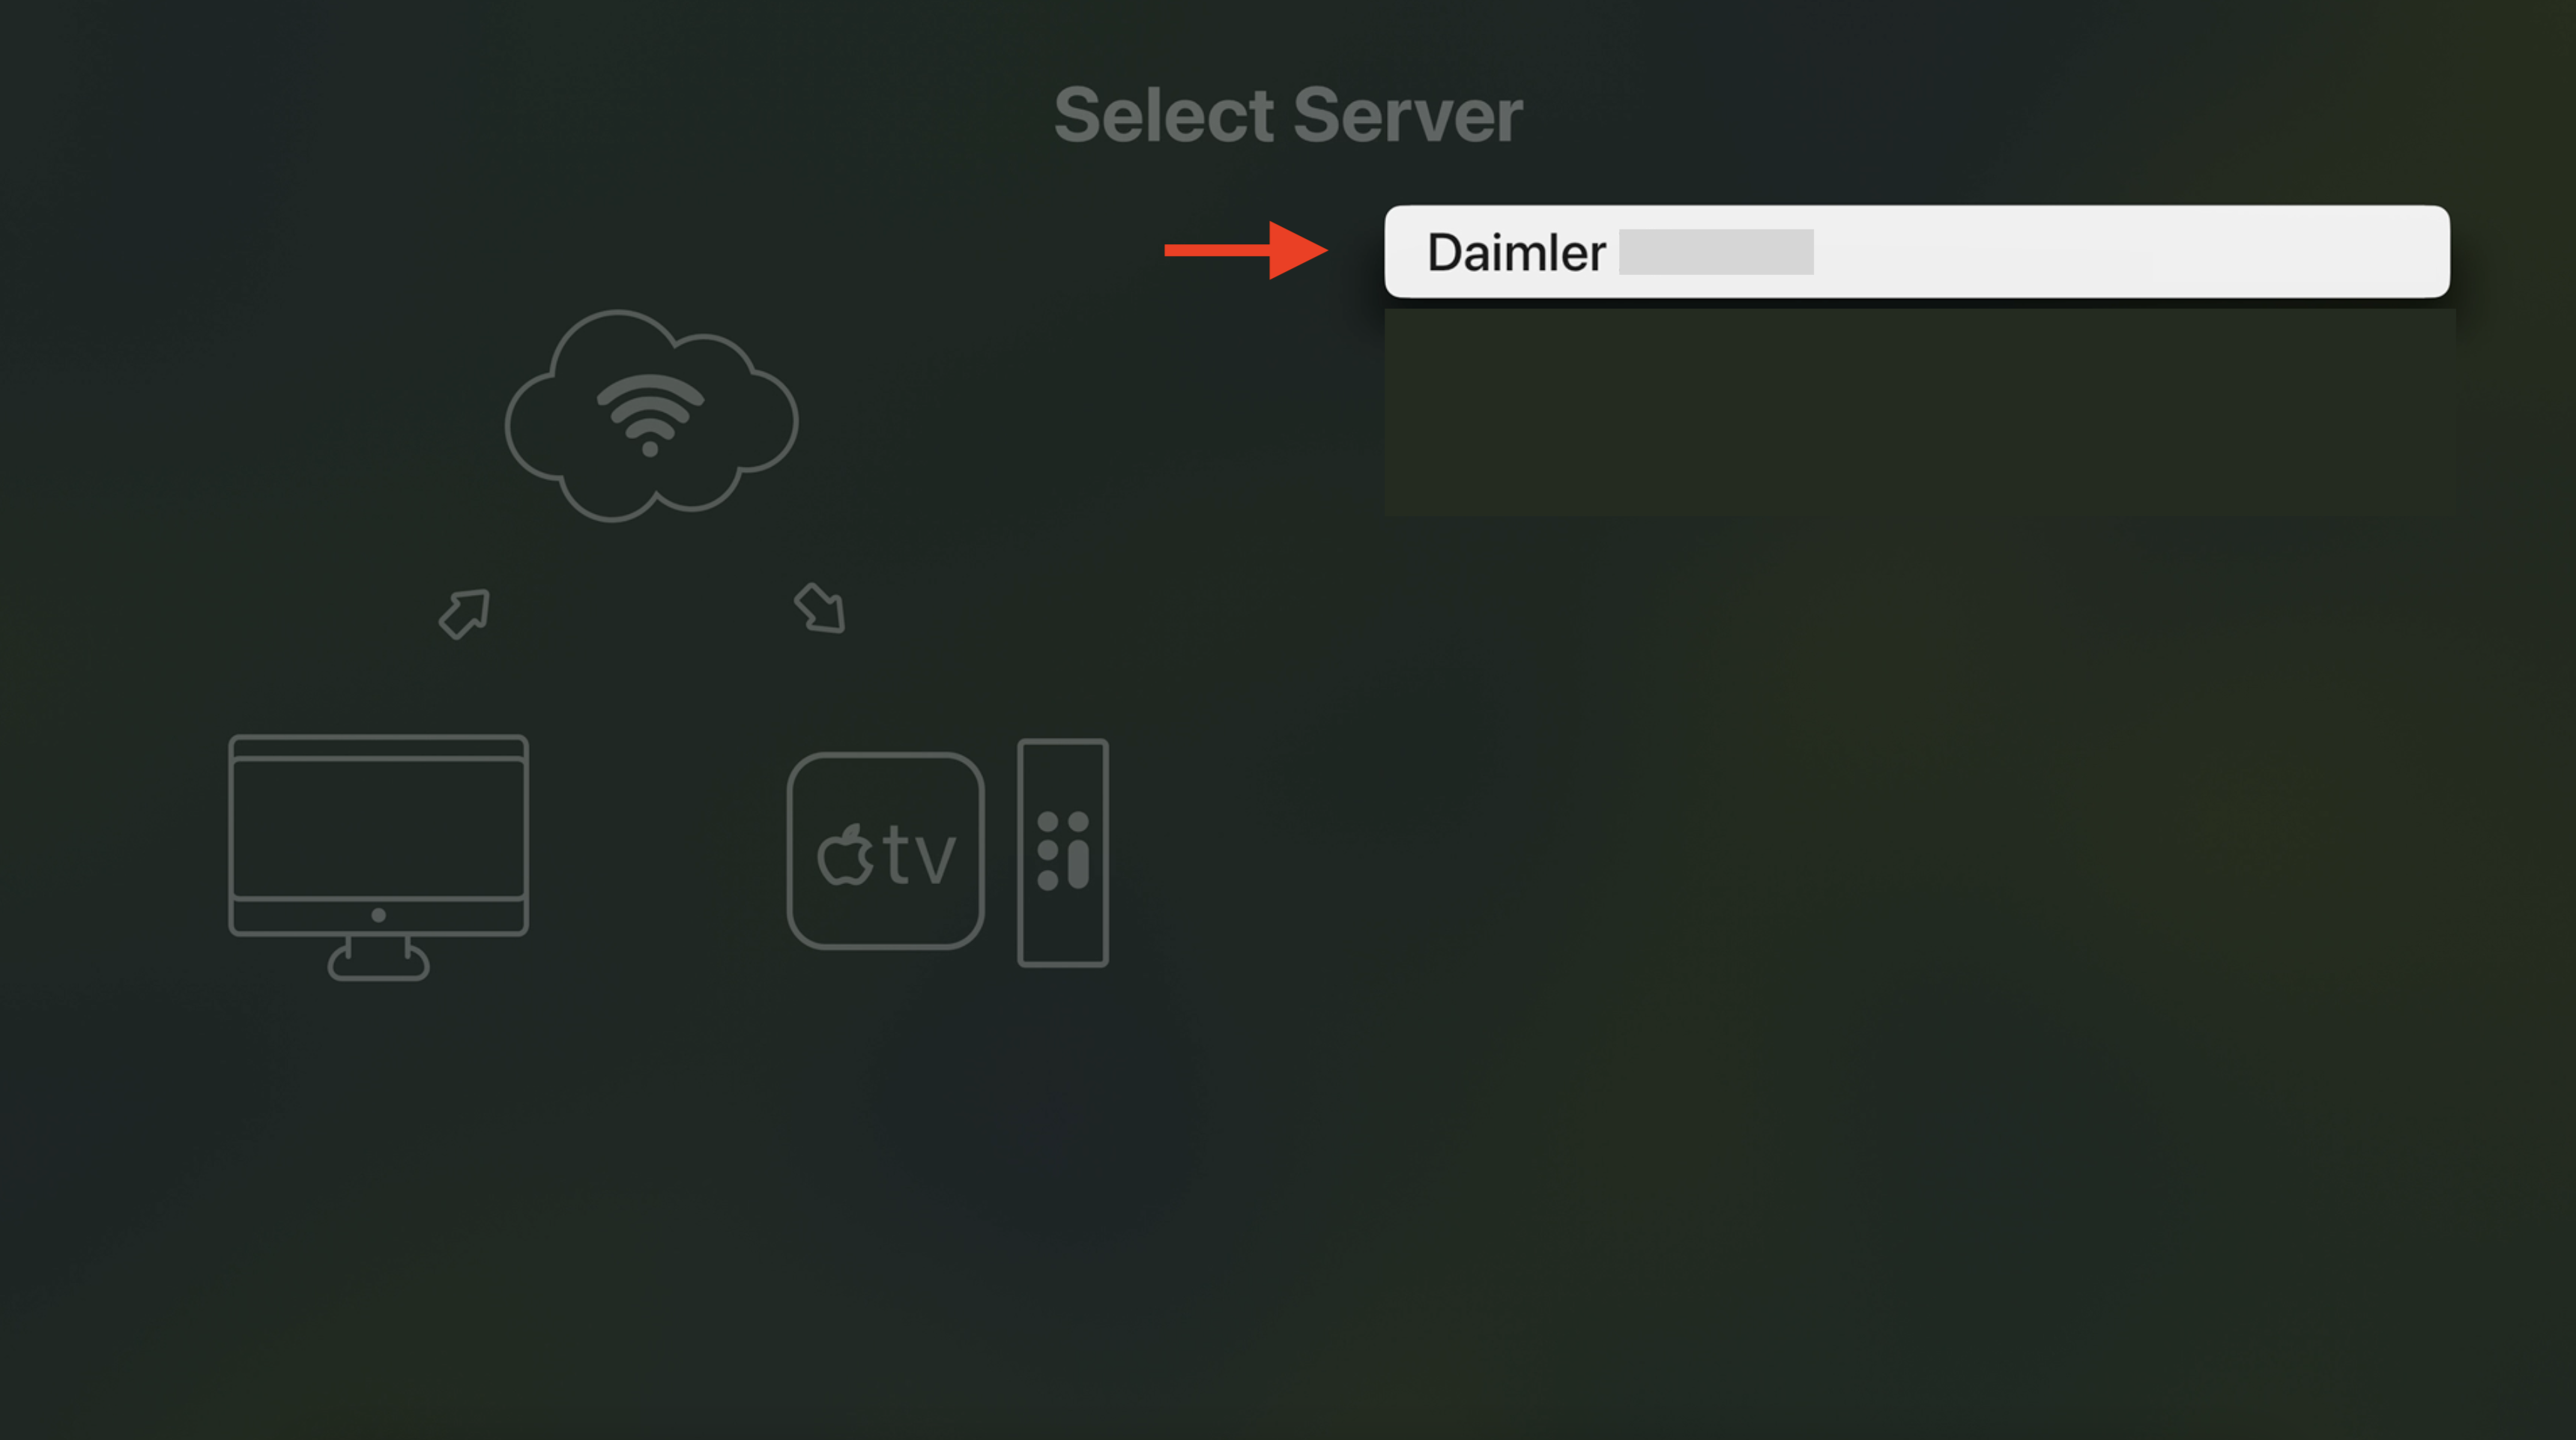
6. After correctly entering the authorization code, you will be presented with a menu that asks you to select a server, select the server that you would like to use.
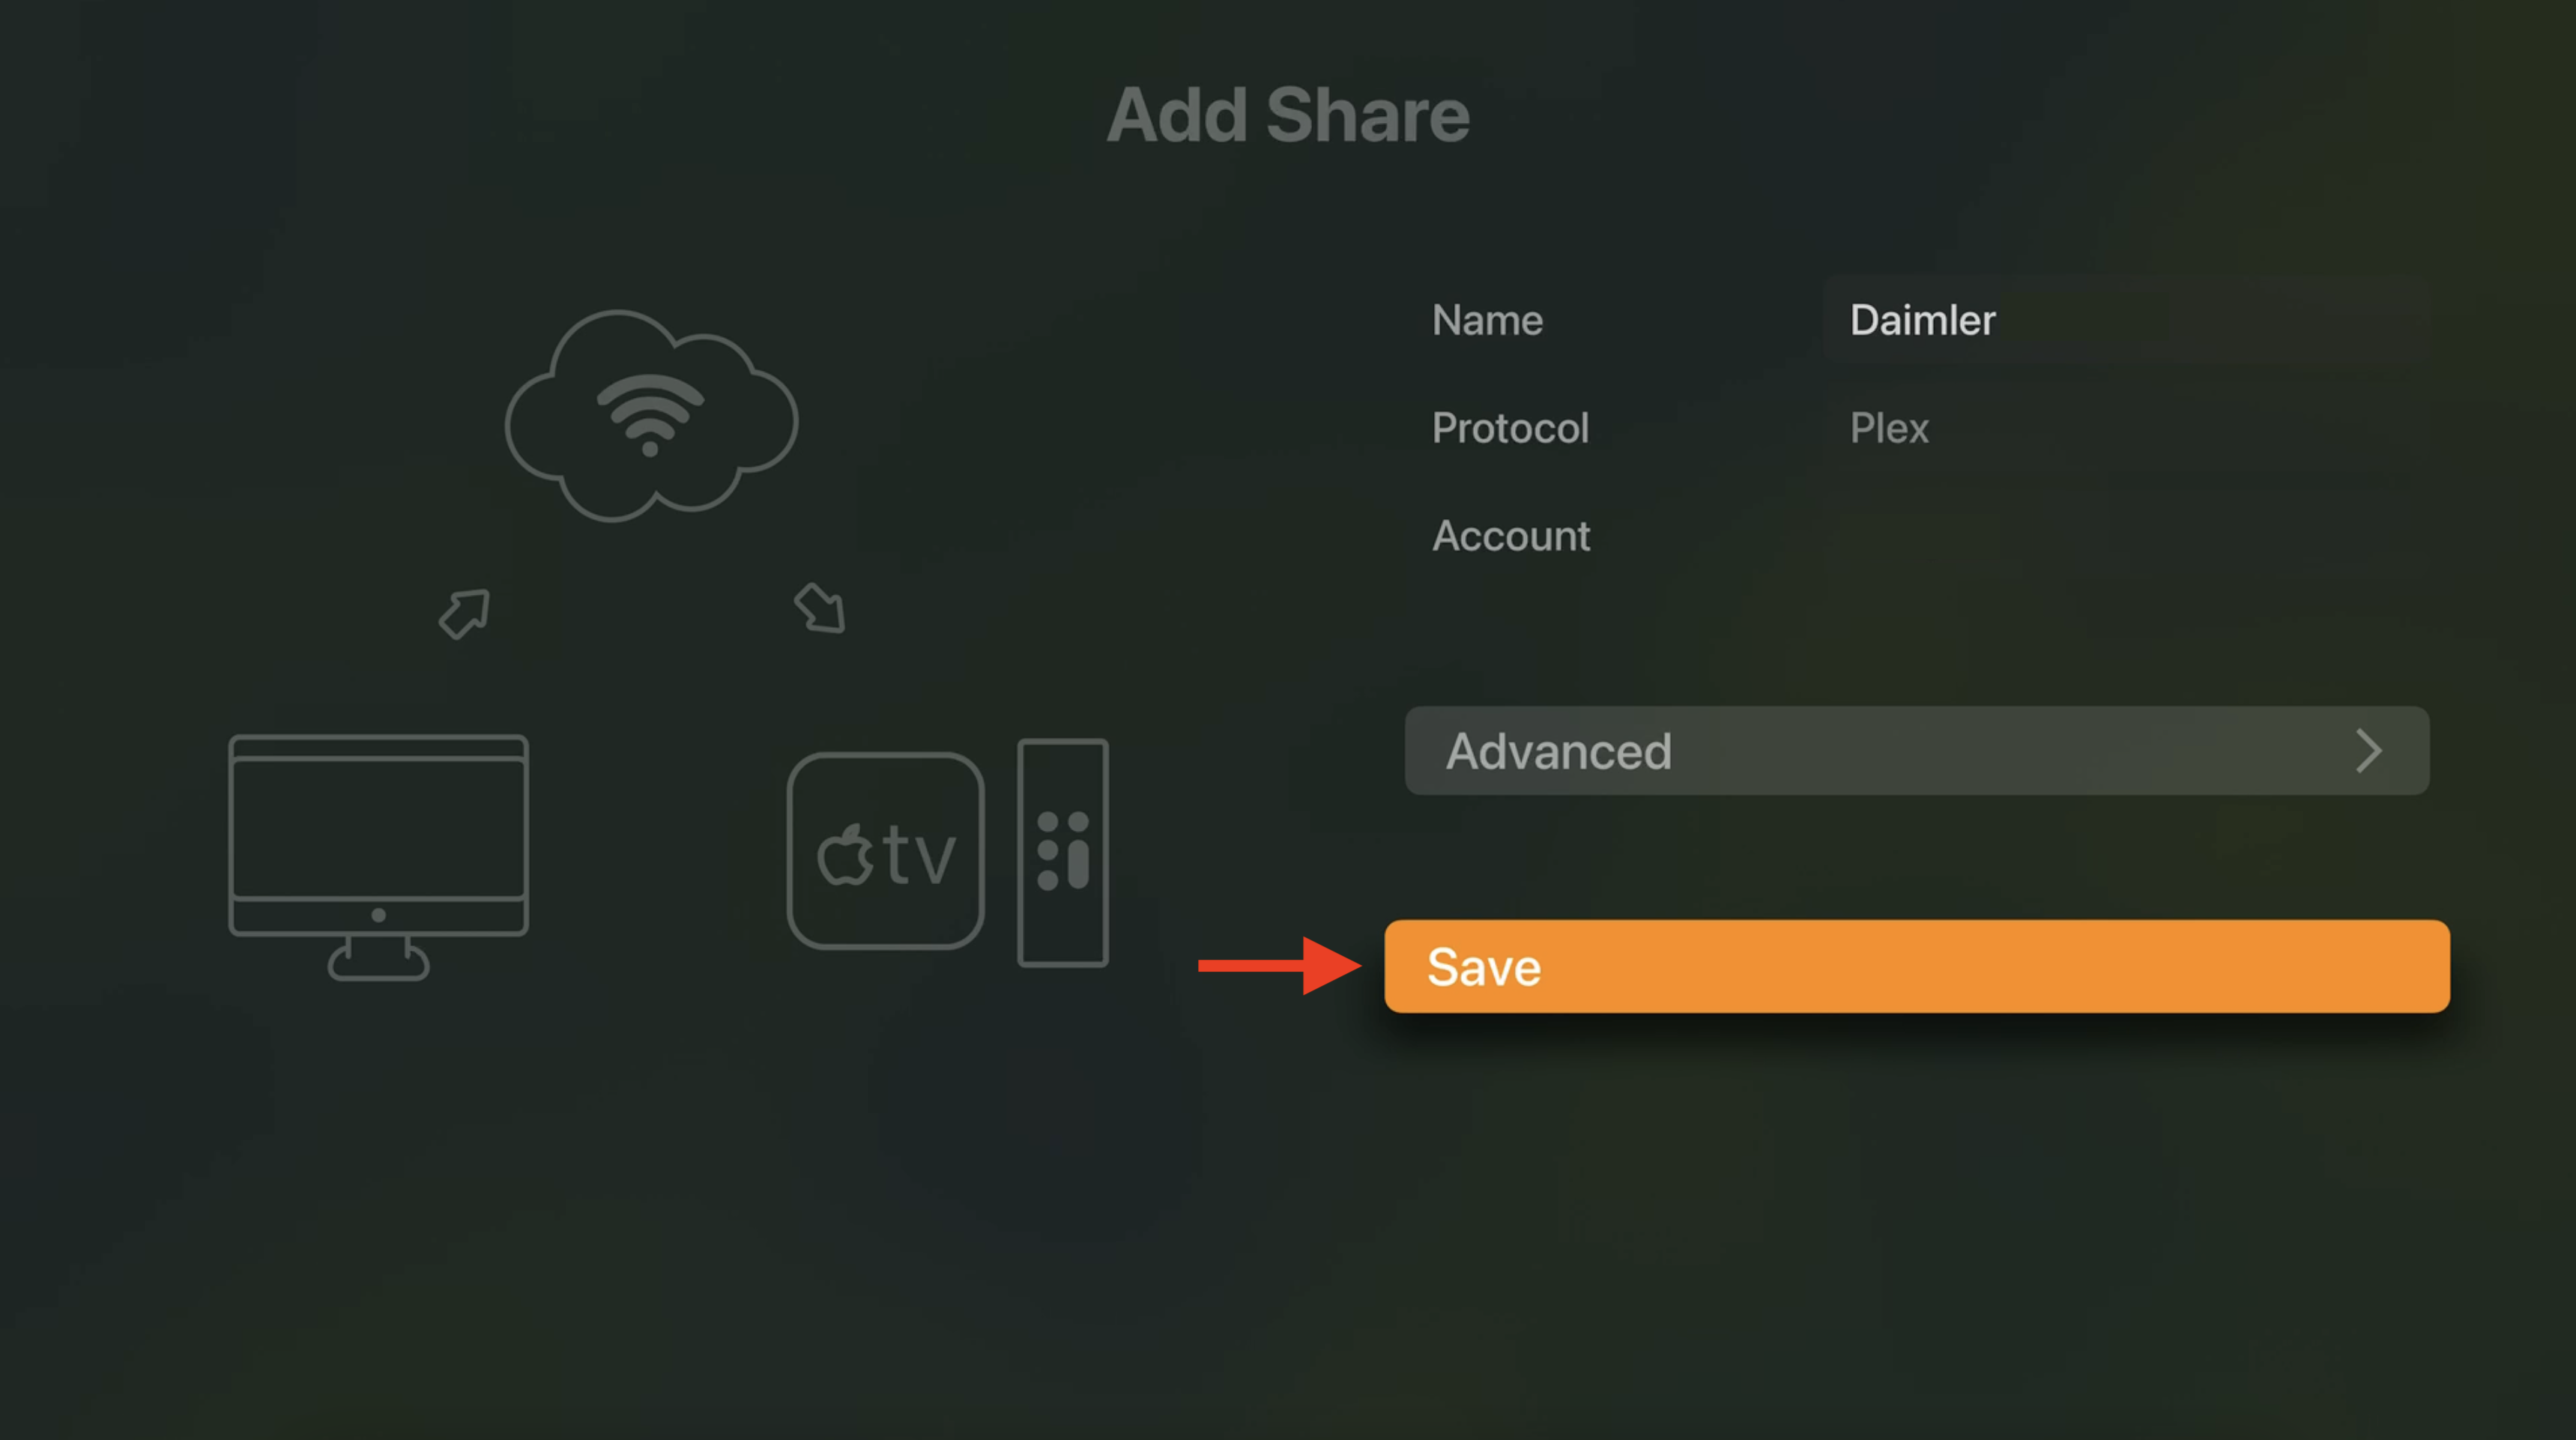
7. After selecting the server in the previous step, you'll see a menu to add it. Simply click "Save" without making any changes to the advanced settings. Infuse is set to use direct mode by default.
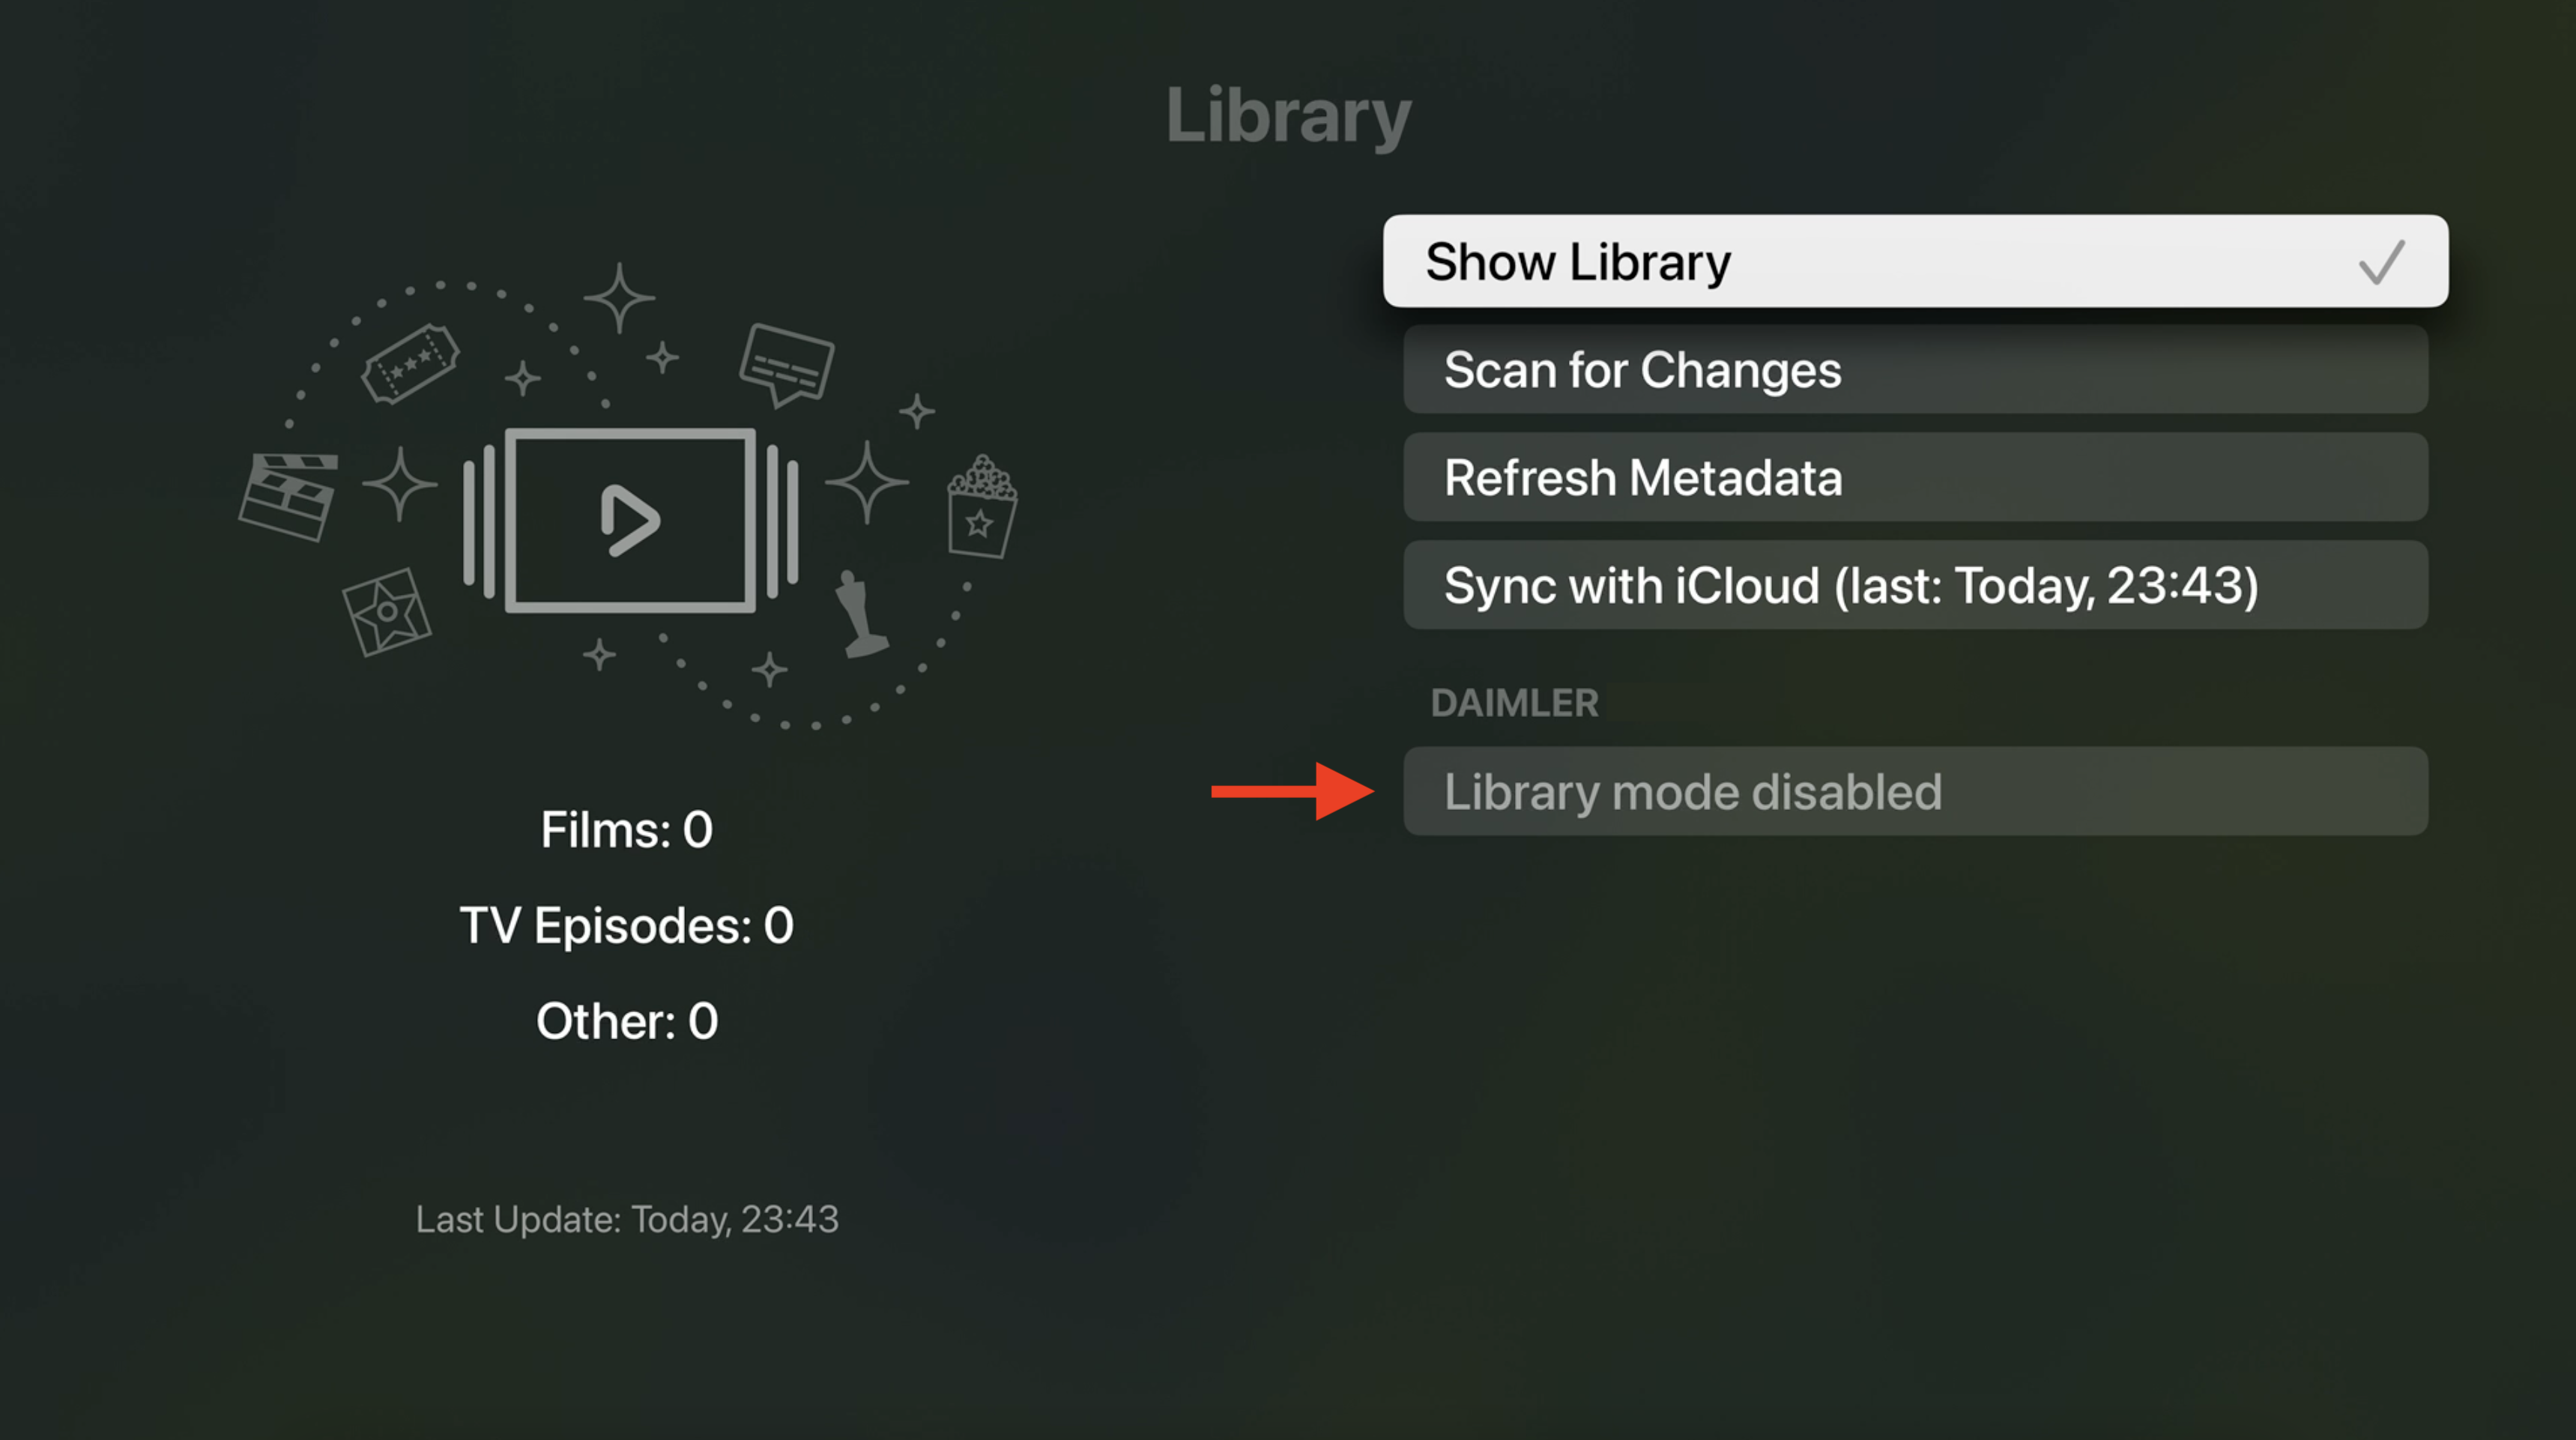
8. After successfully completing the previous step, Infuse will be set up for streaming. You should see the message "Library mode disabled" displayed, as illustrated in the screenshot below, with both Films and TV Episodes counts at 0, indicating that Direct Mode is in use. If the menu displayed in the screenshot is not visible to you, please contact us for assistance.
9. When configuring a new server, Infuse initially organizes the library categories in a manner that may not be the most user-friendly. It is strongly advised that you customize this arrangement to suit your preferences. To do this, navigate to the Infuse home screen and look for the "re-arrange" button, as illustrated in the screenshot below. This button is located at the top of the page, in the right corner.

We recommend the following order for the categories.
- Favorites
- Recently Added in Movies
- Recently Added in Movies (Archive)
- Recently Added in TV Shows
- Recently Added in TV Shows (Archive)
Congratulations! You've successfully configured Infuse!